Listing Preparation
Ottawa Laundry Room Clean-Up Before Listing Photos: A Practical Preparation Guide
A practical Ottawa laundry-room preparation guide covering supply sorting, appliance exteriors, shelves, utility sinks, floor edges and an honest reset before listing photos and showings.
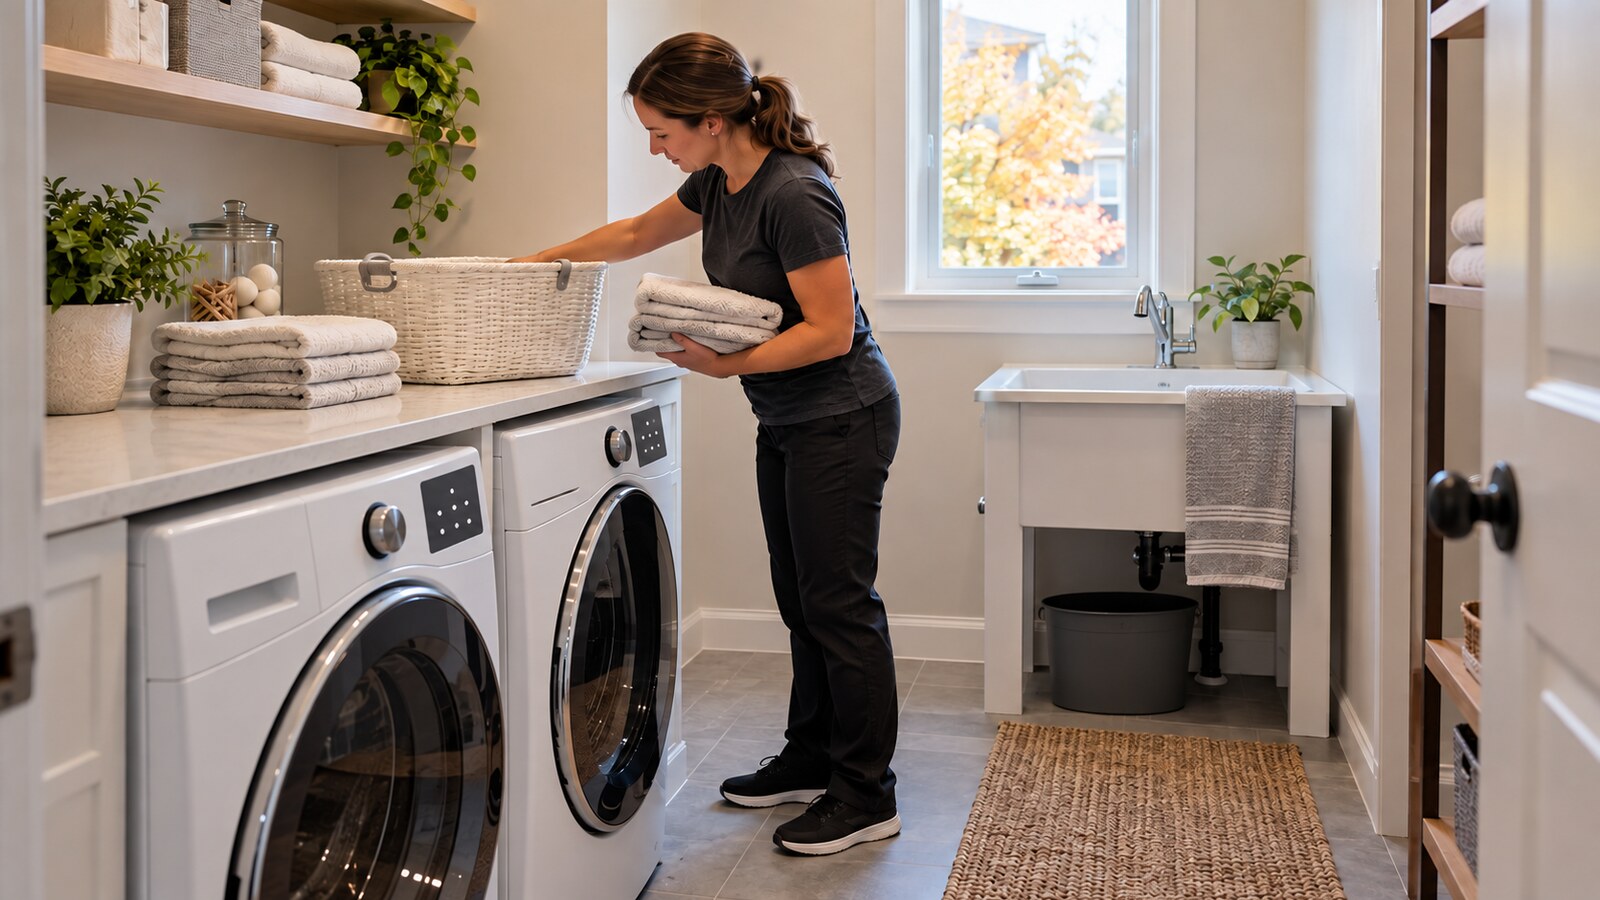
A laundry room rarely needs elaborate staging, but it does need to look usable. In listing photos and during showings, crowded appliance tops, mixed cleaning supplies, overflowing baskets and a blocked utility sink can make a practical room feel smaller than it is. The goal is not to hide how the room functions. It is to present the storage, work surfaces and walking space clearly.
For Ottawa home sellers and real-estate agents, the most useful reset starts with decisions rather than decorating. Identify what must stay for normal household use, what can move temporarily, what belongs elsewhere and what is ordinary non-hazardous material approved for removal. Then clean the room in an order that does not create extra work or interfere with the appliances.
Define the finish line before moving items
Decide how the laundry room should function through the photo appointment and showing period. A household that is still living in the property may need detergent, one basket, a drying rack and a small supply of hangers. Everything else should earn its place based on regular use, not because it has accumulated on the nearest shelf.
Write down a simple finish line: clear the appliance tops, leave the utility sink empty, keep one accessible laundry basket, group the daily supplies in one stable container and open the full walking route. This prevents the clean-up from becoming a rushed attempt to make the room look empty.
Look at the room from the doorway
Stand where a photographer or buyer is likely to first see the room. Check whether the door opens fully, whether baskets project into the path and whether hanging clothes block the view of storage or appliances. A phone photo from the doorway can reveal visual crowding that is easy to overlook when you use the room every day.
Repeat the check from the opposite corner if space allows. The room should communicate its layout without relying on a wide-angle lens to disguise clutter. Leave enough open floor that someone can understand how to reach the washer, dryer, sink, shelves and exit.
Sort what buyers will see
Create separate groups for keep in the room, relocate within the home, donate or reuse, ordinary non-hazardous removal, and uncertain items. Work from the most visible surfaces first: appliance tops, countertop, utility sink, open shelving and the floor beside the machines. Avoid putting every decision into an unlabelled bag, because useful items can be lost and unsuitable material can enter the wrong load.
Keep daily products together in a sound tray, basket or cabinet. Remove empty packaging and duplicates that are no longer needed. Linens, cleaning cloths and hangers should be folded or grouped so they do not spill over shelf edges. Personal documents, keys, medications and valuables belong somewhere secure outside the work area.
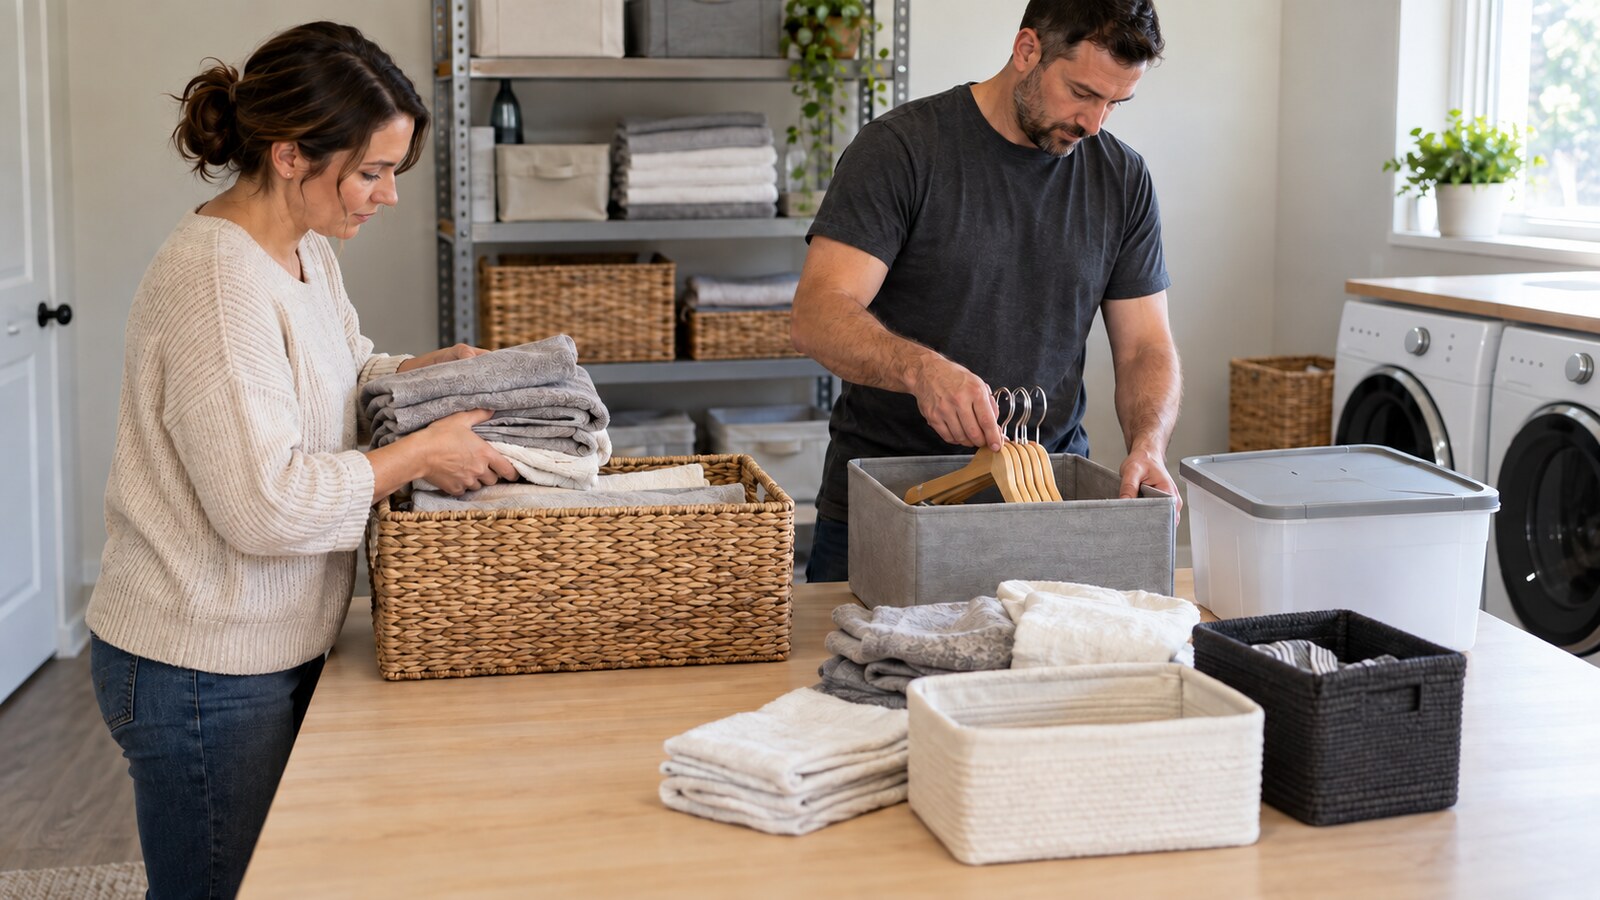
Clear appliance tops and door fronts
Washer and dryer tops often become temporary shelves. Remove loose containers, coins, lint, papers and clothing before cleaning the surface with a method suitable for the appliance finish. Do not place heavy storage bins on top simply to get them out of the camera frame.
Wipe accessible exterior surfaces and around handles without spraying liquid into controls, vents, seals or electrical areas. Follow the appliance manufacturer’s care guidance. Listing preparation is not appliance repair: do not disconnect hoses, move connected machines, open service panels or attempt maintenance that requires a qualified technician.
Check shelves, cabinets and hanging areas
Open shelving benefits from restraint. Keep the lower, most visible shelf simple and place heavier items low. Containers should be stable, dry and easy to lift. If a shelf is loose, sagging or pulling away from the wall, remove weight and arrange repair rather than restocking it for appearance.
Cabinet doors and drawers should close without being forced. Remove items that prevent closure and wipe the accessible fronts and handles. If there is a hanging rod, keep only a modest number of empty hangers or current garments so the rod does not dominate the room.
Reset the utility sink and work surface
A utility sink should be accessible and free of unrelated storage. Remove rags, paint tools, plant pots and containers that have migrated into the basin. Do not pour unknown liquids or leftover products down the drain. Leaking containers, solvents, paint, fuel, sharps, significant mould and other hazardous or special-handling materials are outside an ordinary interior clean-up and require an appropriate provider or disposal route.
Clean the basin and surrounding surface using a product and method suitable for the material. Keep water controlled, especially near outlets and appliances. If the faucet leaks, the drain backs up or the cabinet shows water damage, document the issue and arrange the appropriate repair rather than concealing it for photos.
Clean in a top-to-bottom sequence
Start with accessible high shelves and cabinet fronts, then move to the counter, appliance exteriors, sink and lower surfaces. This order sends loose dust downward once. Use clean cloths appropriate to each surface and avoid mixing products. Ventilate the room as appropriate and follow all product labels.
Pay attention to lint and dust on baseboards, behind an open door and around the accessible front edges of appliances. Do not reach behind connected machines or force tools into vents. The aim is a controlled visible reset, not a deep mechanical cleaning.
Finish the floor and accessible edges
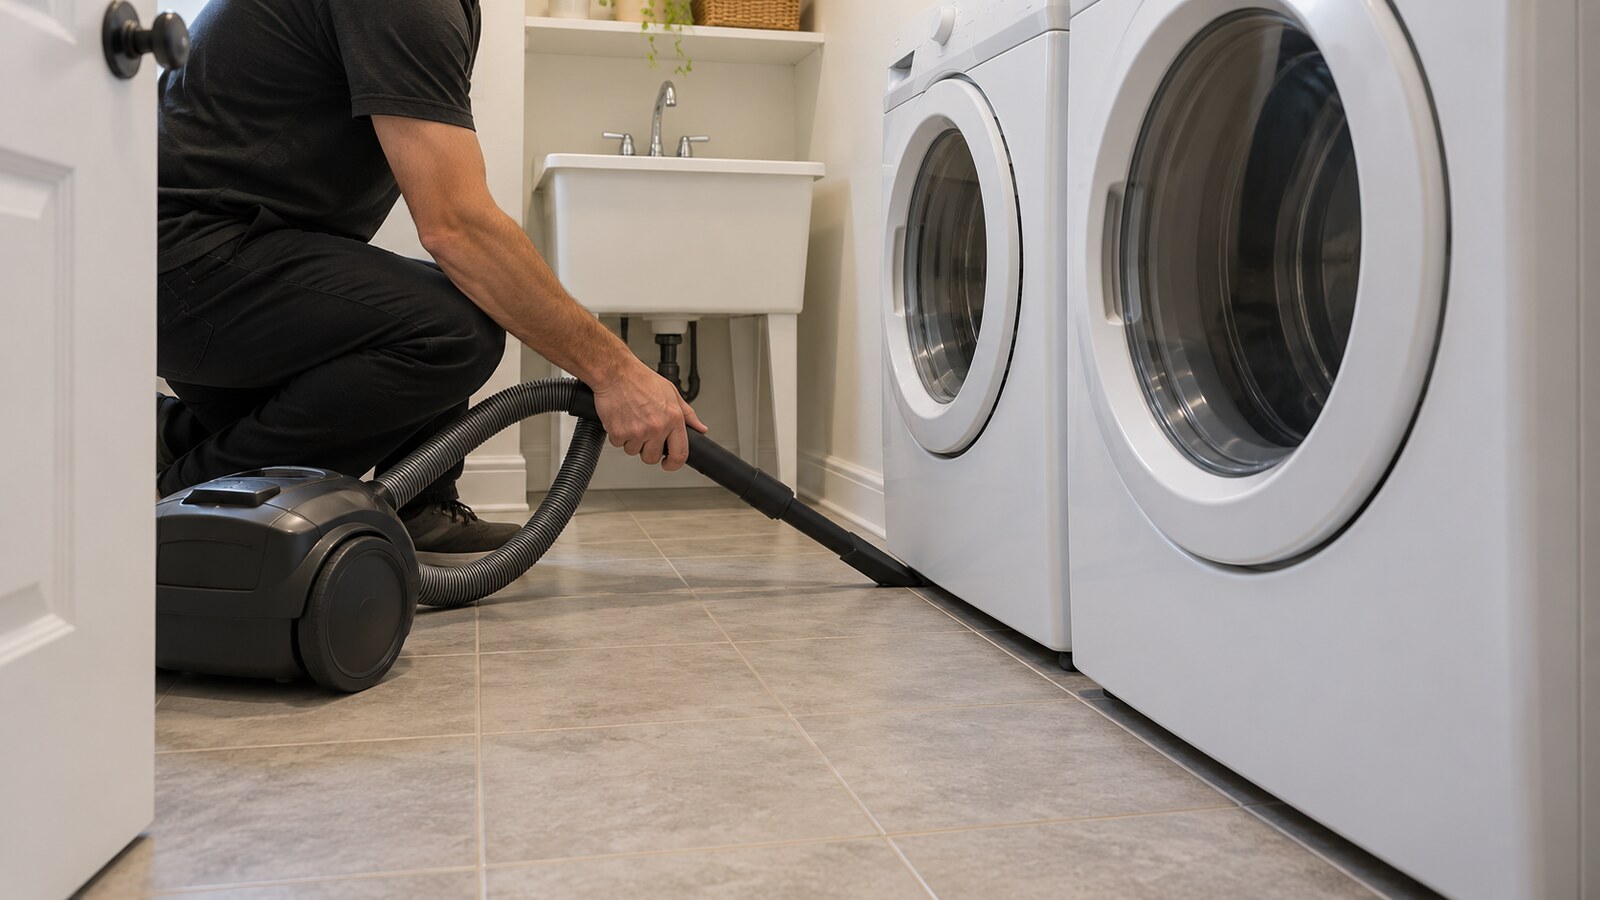
Remove baskets, mats and lightweight movable items before vacuuming or sweeping. Use a crevice tool along accessible baseboards and the front edge beneath appliances, keeping the cord and hose out of the walking route. Do not tip or shift a washer or dryer to reach hidden areas.
Clean the floor using a method suitable for its material and allow it to dry fully. A small clean mat may return if it lies flat and does not narrow the path. Remove any mat that curls, slides, hides damage or makes the room look tighter.
Stage the room honestly
Return only the items needed for normal use. One empty basket, a small group of folded neutral linens and a contained set of daily supplies usually communicate function better than rows of decorative products. Avoid adding accessories that make the shelves look full again.
Keep original fixtures, appliance condition and storage limits visible. Listing preparation should improve clarity, not imply renovations or features that do not exist. Generated images used with this article are illustrative and do not show an actual Mattabo project or property listing.
Coordinate timing with photos and showings
Complete the main sort before the final clean so removed items do not cross freshly cleaned floors. If the home is occupied, set aside a temporary basket for daily laundry and choose one closed location for products that must remain accessible.
Before the photographer arrives, run a quick check: empty the sink, close cabinet doors, remove laundry from machines, take down temporary drying items and confirm that lights and doors work as expected. Afterward, maintain the room with a short daily reset rather than repeating the entire clean-up before each showing.
Laundry-room preparation checklist
- Define what must remain usable during the listing period.
- Photograph the room from the doorway before sorting.
- Clear appliance tops, the utility sink and the main work surface.
- Group daily products in one stable, unbranded container.
- Relocate valuables, documents and unrelated household storage.
- Keep hazardous or special-handling materials out of ordinary removal.
- Wipe accessible appliance exteriors without spraying controls or vents.
- Check that shelves, drawers and cabinet doors are stable and close properly.
- Vacuum or sweep accessible floor edges without moving connected machines.
- Return only the items needed for normal use and complete a final doorway check.
What to send for a firm quote
Send wide photos from the doorway and opposite corner, plus closer images of shelves, the utility sink, appliance exteriors and the floor. Include stairs, narrow hallways, parking limits or access instructions that could affect carrying or scheduling. Identify any ordinary non-hazardous items being considered for removal and photograph uncertain materials separately.
Mattabo Property Care is fully insured for the services it provides. Readers can send photos, their Ottawa address and deadline for a firm quote. Same-day service is often available but is not guaranteed until Mattabo confirms the appointment. A quote request is not a confirmed booking.
To plan an Ottawa laundry-room clean-up before listing photos, [contact Mattabo Property Care](/contact) with the room photos, access details, approved removal scope and desired timing. A clear scope helps confirm what can be completed before the appointment is booked.
Photos are illustrative examples of typical residential service results.